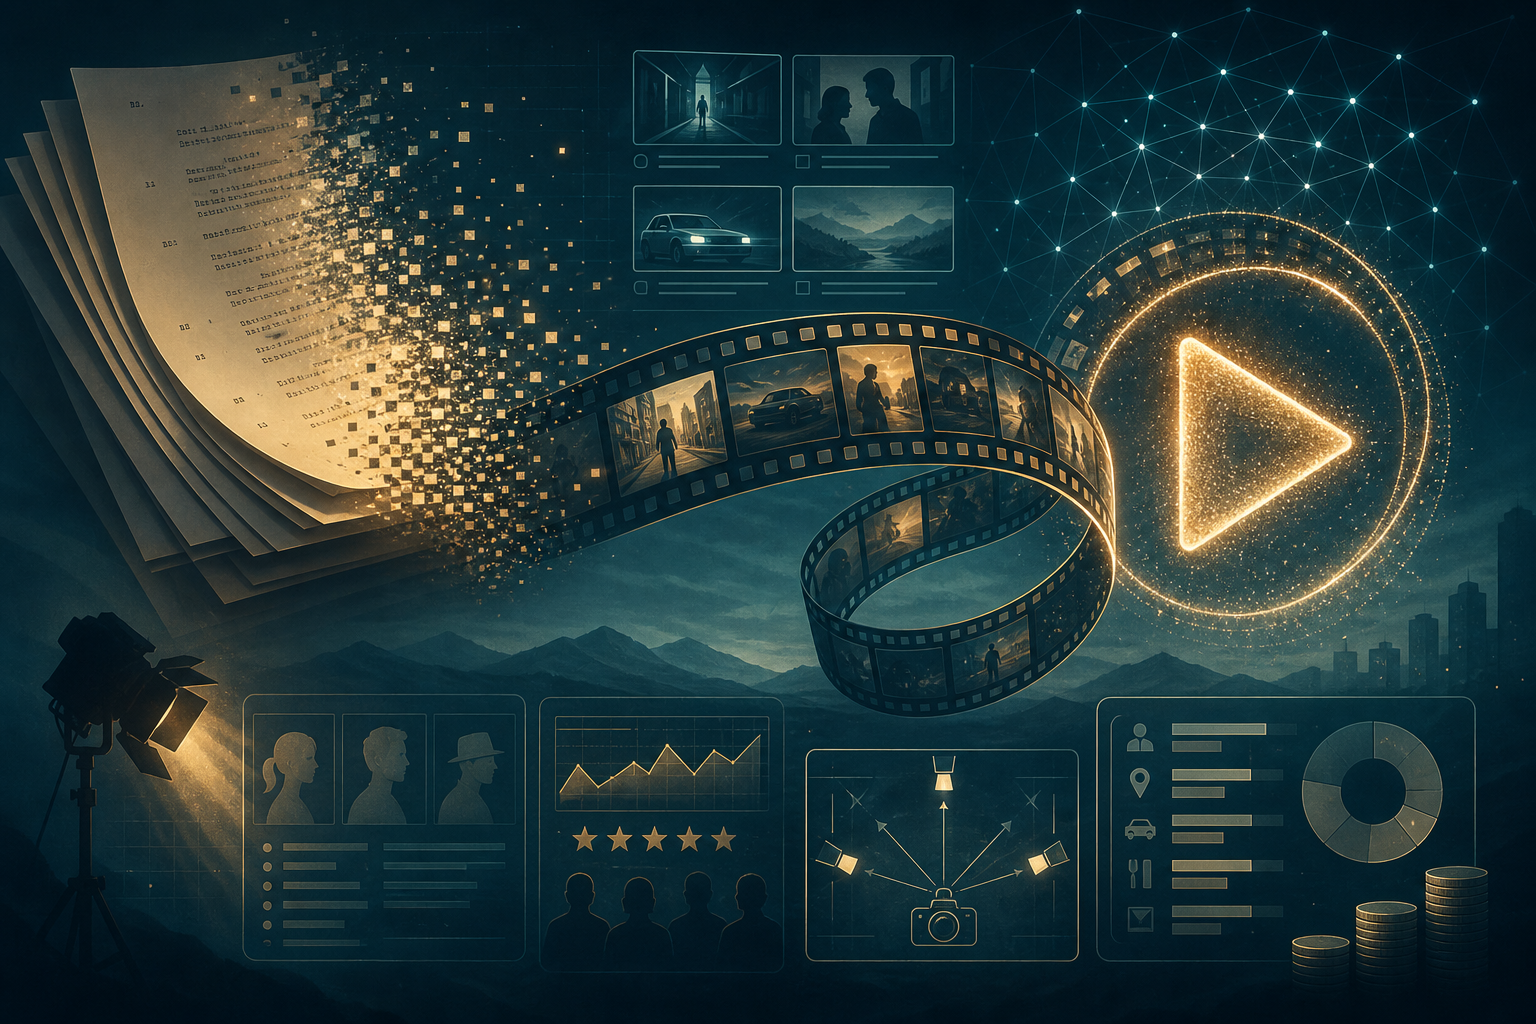
Making a 60-second pilot is about choosing the single strongest narrative beat and giving it cinematic shape. This guide lays out a realistic, hour-by-hour workflow you can run in 24 hours to turn a completed script into a pitch-ready sizzle using AI outputs - storyboards, shot lists, character visuals, temp music and voiceover, a first-pass edit, and a poster for promotion.
Why a 60-second pilot works
A tight pilot forces clarity. Executives and festival programmers will remember a vivid hook, a compact character setup, and a clear tonal promise. A one-minute video is also cheap to iterate on and fast to share. The goal is not to tell the whole story. The goal is to make a persuasive, cinematic argument that this script should be made.
What to extract from your script first
Before any visuals, identify the one-minute spine of your story. Use these filters:
- Hook - First 5 seconds that make someone stop scrolling.
- Character moment - One line or beat that reveals who the protagonist is.
- Conflict - A single obstacle that promises stakes and movement.
- Tonal proof - A single image, color, or line that telegraphs genre and style.
Keep the pilot to 1-2 locations and 1-3 characters. More complexity dilutes impact.
Assets to generate from the script
Generate these assets in parallel when possible. They are the building blocks of a fast, production-grade pilot.
- Storyboard frames - 12 to 24 key frames that map shot composition and camera moves.
- Shot list and camera map - Shot order, lens suggestions, coverage, and frame size for each beat.
- Character visuals and poster - Portrait-style designs for thumbnails and a vertical poster for festival submissions.
- Sample theme or temp music - 30 to 60 second cues that set pace and mood.
- AI voiceover or scratch VO - Short lines read in the intended tone for timing and editing.
- First-pass pilot video - An assembled rough cut from storyboard-led assets and temp elements for review.
Realistic 24-hour schedule - hour by hour
This schedule assumes you upload a finished script, select the scene or sequence you want to convert, and run parallel AI tasks. Times are approximate and overlap is expected.
-
Hour 0 - 1: Script intake and scene selection
Upload the script, mark the one-minute spine and note any image or tone references. Lock your length at 60 seconds and confirm the characters and locations to include.
-
Hour 1 - 4: Generate storyboards and shot list
Create 12 to 24 storyboard panels, with annotations for shot size, camera move, and the intended cut. Produce a shot list that maps each panel to a nominal camera lens, coverage notes, and continuity needs.
-
Hour 2 - 5: Produce character visuals and poster
Generate character concept artwork and a poster mockup sized for festival and press use. Export high-resolution PNGs for thumbnails and 3000 x 4500 PNG or JPG for poster needs.
-
Hour 4 - 8: Create temp music and voiceover
Produce 30 to 60 second music cues and one or two VO reads. Pick the strongest cue and a VO tone that matches the pilot. Export WAV stems and single-track MP3s for editing.
-
Hour 6 - 12: Assemble the first-pass edit
Using the storyboard panels as plates, cut the pilot in your NLE. Replace long plates with simple motion - push-ins, slight pans, or parallax - to simulate camera movement if you do not have live footage. Sync VO and music, and trim to the target timing.
-
Hour 10 - 16: Temp color, sound mix, and simple VFX
Apply a single, consistent color grade, do a basic audio mix with VO clarity and music ducking, and add 1-3 VFX touches such as simulated lens flares, title reveals, or light leaks.
-
Hour 14 - 20: Review and one revision cycle
Screen internally, collect targeted feedback, and run one revision pass. Focus changes on pacing and clarity, not wholesale reshoots.
-
Hour 18 - 24: Final exports and deliverables
Render the final master and export supporting files: poster, storyboard PDF, shot list PDF, and a one-page pitch note. Prepare compressed versions for email and social sharing.
Editing blueprint - timing and cut recommendations
Use this template for a 60-second pilot:
- 0 - 3 seconds: Branding or title card with hook - no slow reveal.
- 3 - 15 seconds: Setup - one strong image and a defining line of VO or on-screen text.
- 15 - 40 seconds: Escalation - conflict or obstacle. Keep lines sparse and visual beats sharp.
- 40 - 55 seconds: Climax - the most cinematic moment or reveal.
- 55 - 60 seconds: Close - title, logline or CTA, and poster thumbnail for pitch decks.
Aim for 12 to 20 cuts total. Let the soundtrack carry transitions where possible. Use a VO line or textual punch to lock the logline into memory.
File and delivery standards for festivals and executives
- Master video - MP4 or MOV, H.264 or H.265, 1920 x 1080 or 2K, 24 or 23.976 fps, target bitrate 10-20 Mbps.
- Audio - Stereo WAV stems, 48 kHz. Include a mixed MP3 for quick sharing.
- Poster - 3000 x 4500 px PNG or JPG, 300 dpi for print, RGB for web.
- Storyboards and shot list - PDF, labeled and time-stamped to the cut.
- Naming - ProjectTitle_Pilot_60s_v01.mp4; ProjectTitle_Poster_v01.png; ProjectTitle_Storyboards_v01.pdf.
- Delivery - Prepare a high-res master and a 5 MB web-friendly MP4. Include a one-page logline and cast notes for execs.
Practical tips to make the pilot feel produced
- Limit exposition. Trust a single visual motif to carry the concept.
- Choose voiceover sparingly. One evocative line beats a paragraph.
- Use color and contrast to distinguish your world in a glance.
- Keep motion natural. Slight digital camera moves are fine, avoid excessive stabilization artifacts.
- Export a 'no music' version for meetings where execs want to overlay notes or temp demos.
How AI outputs plug into a quick production workflow
When the script is complete, the fastest path to a polished pilot is to map each AI output to a production task. Storyboards become edit plates and shot timing. Shot lists inform lens choices and coverage for a possible microshoot. Character art becomes poster and thumbnail assets. Temp music and AI VO supply mood and pacing so the first cut reads like a real film. This approach compresses weeks of vendor work into a single delivery cycle and makes the decision to shoot or pitch much more informed.
From a founder perspective, building a system where these outputs are delivered together was the explicit goal. That alignment between creative ideation and production planning is what lets teams move from script to screen-ready pitch in about a day.
Wrap and next steps
Choose one compelling beat, limit cast and locations, and move assets through parallel lanes. Produce a sharp first-pass edit, run one focused revision, and export the master plus the asset pack you would hand to a producer or cinematographer. That pack is what gets meetings, not an unillustrated script.
If you want to shortcut the asset generation step, consider a workflow that delivers storyboards, shot lists, character visuals, temp music, VO, and a first-pass pilot together so you can start cutting immediately. That single package turns a completed script into something you can show, pitch, and fund within 24 hours.
FAQ
How polished should the script be before starting this workflow?
The script should be in a locked or near-locked state for the sequence you intend to visualize. Small tweaks are fine, but major story changes will require regenerating timed assets and can break the 24-hour cycle.
Can I swap AI voiceover with a human actor later?
Yes. Use AI voiceover for timing and mood in the first pass. Replace with a recorded human performance during a later audio pass when you move toward production.
What if my script is mostly dialogue?
For dialogue-heavy scenes, pick the most representative exchange and use kinetic editing and close-ups to create drama. Consider intercutting small visual motifs to maintain cinematic energy.