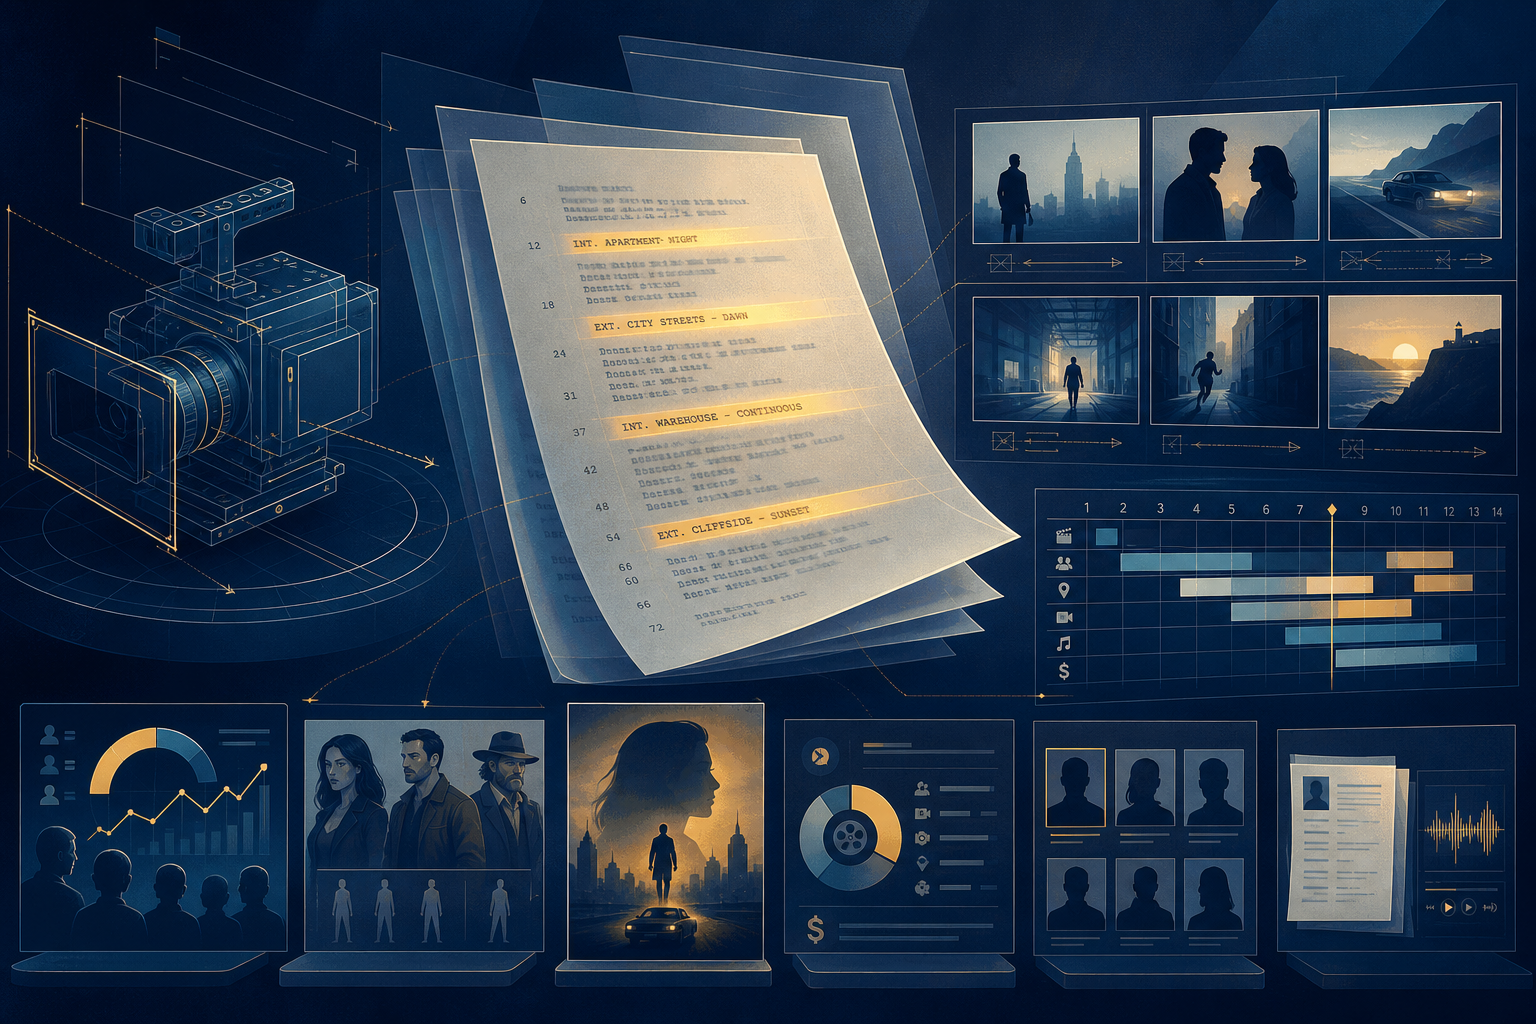
Converting screenplay pages into an executable camera plan is where creative intent meets production reality. For indie filmmakers and producers, the challenge is to choose shots that serve story and performance while staying within time and budget. This guide gives a concise, actionable workflow you can apply scene by scene to produce a prioritized shot list, technical notes, storyboard cues, and a prep estimate fast.
Step 1. Read the scene like a director
Start with a single scene. Identify the story beats, emotional highs and lows, and the physical actions that must be captured on camera. Annotate the script with:
- Scene purpose: establish, conflict, reveal, wrap up
- Primary subject: which character or object carries the beat
- Set constraints: available light, practical doors, windows, entrances
- Key moments that cannot be missed: line reads, props, blocking moments
Step 2. Choose the shot sizes that serve the scene
Shot size guides audience proximity to emotion. Use purpose to dictate scale.
- Extreme wide for geography and scale; use for openings and reveals.
- Wide / Master to show full blocking and spatial relationships.
- Medium for conversational rhythm and two-shots.
- Close up to capture nuance and line readings.
- Insert / Cut-in for props and reaction details.
Step 3. Lens choices in practical terms
Pick lenses for field of view and depth. For most indie shoots a small kit covers common needs.
- 24-35mm Wide: environment, dynamic handheld, context in tight interiors.
- 50mm Normal: natural perspective for mid-shot coverage and single-camera setups.
- 85-135mm Short telephoto: compression for intimate close ups and isolating subjects.
- Macro / 100mm+ Inserts and texture shots.
Tradeoff note: wider lenses need more careful blocking to avoid distortion. Telephoto increases stand-off distance and lighting needs.
Step 4. Angles and camera height
Angle expresses power and point of view. Use height and tilt intentionally.
- Eye level for neutral viewpoint and unobtrusive coverage.
- High angle to make a character feel small or vulnerable.
- Low angle to convey dominance or menace.
- Over-the-shoulder to orient spatially and preserve shot-reverse-shot rhythm.
Step 5. Movement: when and how to move
Movement can clarify, reveal, or disorient. Keep it motivated by story.
- Static (locked off): preserves performance, simpler lighting and coverage.
- Push / Pull (dolly or slider): emphasize reaction or discover detail.
- Handheld for urgency and intimacy, but watch continuity.
- Gimbal / Steadicam for smooth, mobile coverage through action or long takes.
- Crane / Jib for reveals and big spatial movement when budget allows.
Step 6. Create a prioritized shot list (A, B, C)
Prioritize to protect coverage when time runs out. For each scene, produce this minimal list.
- A-shots: Must-have frames for story and performance. Example: master wide, over-the-shoulder reverse for final line, close-up of reveal.
- B-shots: Important supporting angles that improve editing options. Example: medium two-shot, reaction close.
- C-shots: Nice-to-have inserts and stylistic picks. Example: environmental detail, handheld moving coverage.
Note approximate duration for each shot (minutes) and the number of setups required. Use this to compute realistic shooting time for the scene.
Step 7. Coverage rules that speed shooting
- Always get a master wide to cover the full performance in one take.
- At minimum, capture two coverage angles for each important beat: a medium and a close.
- When blocking permits, favor swapping lenses on the same tripod position over repetitive repositioning to save time.
- Plan inserts and cutaways that can be filmed quickly while instruments or light remain set.
AI Prompt Templates to jumpstart a shot list
Use these templates with an AI tool to generate scene-specific camera plans. Replace bracketed variables.
- Shot list generator: "Read the scene: [SCENE TEXT]. Produce a prioritized shot list for a 2-camera indie production. Include A, B, C shots, suggested lens for each, camera angle, camera movement, estimated minutes per shot, and a brief lighting note."
- Storyboard frame brief: "Create five storyboard frames for this beat: [BEAT DESCRIPTION]. For each frame include shot size, camera placement, subject blocking, and the key prop or action to emphasize."
- Low-budget tradeoff advisor: "Given a budget limit of [BUDGET AMOUNT], recommend camera, lens, and movement choices for this scene: [SCENE SUMMARY]. Prioritize continuity, performance coverage, and minimal setups."
Coverage checklist for common scene types
Keep this printable checklist for rapid scene planning.
- Interior two-character dialogue: Master wide, OTS reverse for both characters, CU of each, insert of prop if story-critical, one reaction cutaway.
- Single character interior: Wide to set, medium for blocking, CU for emotional peak, insert of hands or prop, optional dolly push at reveal.
- Action / chase: Wide coverage of choreography, close handheld for impact, vehicle-mounted follow, inserts of contact points; plan safety and stunt double coverage.
- Montage: Series of inserts and establishing wides, consistent color and exposure mapping, varying frame rates if stylistic.
- Exterior night: Consider available light, time-of-night continuity, wider lenses for low light, plan for practicals and negative fill.
Tradeoffs and hacks for low-budget shoots
- Use a single versatile lens kit (24-70mm or 24-105mm) and accept less optical character in exchange for speed.
- Reduce setups by shooting coverage from reverse positions with different lenses instead of moving the whole rig.
- Replace complex moves with simple pushes using a slider or gimbal for a similar emotional effect at lower cost.
- Pre-shoot inserts and texture plates with a small B-camera while main actors rehearse to maximize daylight and reduce actor time on set.
Aligning camera plans with storyboards, budgets, and casting
Camera planning is effective when it is synchronized with other development deliverables.
- Storyboards: Map each prioritized shot to a storyboard frame. This reduces miscommunication on set and helps directors of photography and art departments visualize lighting and blocking.
- Budgets: Convert setups into time and crew costs. A simple rule: each new setup adds 10 to 30 minutes of prep plus lighting. Multiply setups by labor rates to estimate expense quickly.
- Casting and stunt needs: If a role requires physical action or a double, flag additional coverage and safety shots. Schedule these when stunt coordinator and second unit can be present.
Fast workflow to deliver a camera plan in 24 hours
- Upload the scene or full script and mark priority scenes.
- Run an automated script breakdown to extract beats, locations, and props.
- Generate a first-pass shot list with AI prompt templates above and refine manually.
- Produce 5 to 10 storyboard thumbnails for the scene’s A-shots.
- Create a simple prep sheet listing setups, estimated minutes, lens picks, and lighting notes.
When these elements are created in parallel, what usually requires days can be compressed into a single fast iteration suitable for production meetings or pitch decks.
Practical example (interior dinner scene)
Scene summary: Two characters argue across a table, a secret is revealed with a hand sliding a note into view.
- A-shots: Master wide (24mm, locked off), Medium two-shot (50mm, static), CU on reveal hand and note (85mm, insert). Estimated time: 45 minutes.
- B-shots: OTS of each actor for reactions (50mm), over-table low-angle to emphasize power shift (35mm). Estimated time: 30 minutes.
- C-shots: Detail of glass, cutaway to hallway reaction, optional handheld push to final line. Estimated time: 15 minutes.
Founder perspective on speed and integration
Creating camera plans is a craft that blends storytelling instinct with practical logistics. Founders and producers value solutions that respect both. By integrating script analysis, shot priorities, and quick storyboard references, teams preserve essential creative choices while clearing production bottlenecks.
How this approach fits a rapid delivery model
When a single upload can yield a breakdown, prioritized shot list, storyboard frames, and a prep estimate, creative teams move faster into rehearsals and production. That speed is not a shortcut to quality. It is a way to surface the most important cinematic choices early and protect them under the realities of schedule and budget.
FAQ
- Q: How many shots do I really need per scene?
A: Aim for a master plus two coverage angles for each major beat. That gives editors options while keeping setups manageable. Add inserts as time allows.
- Q: Can I plan camera moves without a dolly or crane?
A: Yes. Sliders, gimbals, and careful handheld work can achieve motivated movement. Story motivation is more important than equipment flash.
- Q: How do I estimate time per setup?
A: Use a baseline of 10 to 30 minutes per lighting setup depending on complexity. Add actor blocking time and safety checks for stunts. Multiply by planned setups to create a realistic scene day estimate.
- Q: Will a small lens kit limit creative options?
A: It narrows optical variety but speeds production. Choose lenses that cover wide, normal, and short telephoto ranges and plan compositions that use framing over extreme focal character.
For teams that need to compress development into tight timelines, combining script-driven shot planning with thumbnail storyboards and time-budgeted setups makes production decisions faster and clearer. When these deliverables are produced together, filmmakers retain creative control while accelerating from page to set in a single day.
If you want an example package—prioritized camera plan, storyboard frames, prep estimate, and shot prompts—generated from a single script upload, there are services that deliver the full bundle within 24 hours to support fast-moving productions and production meetings.